

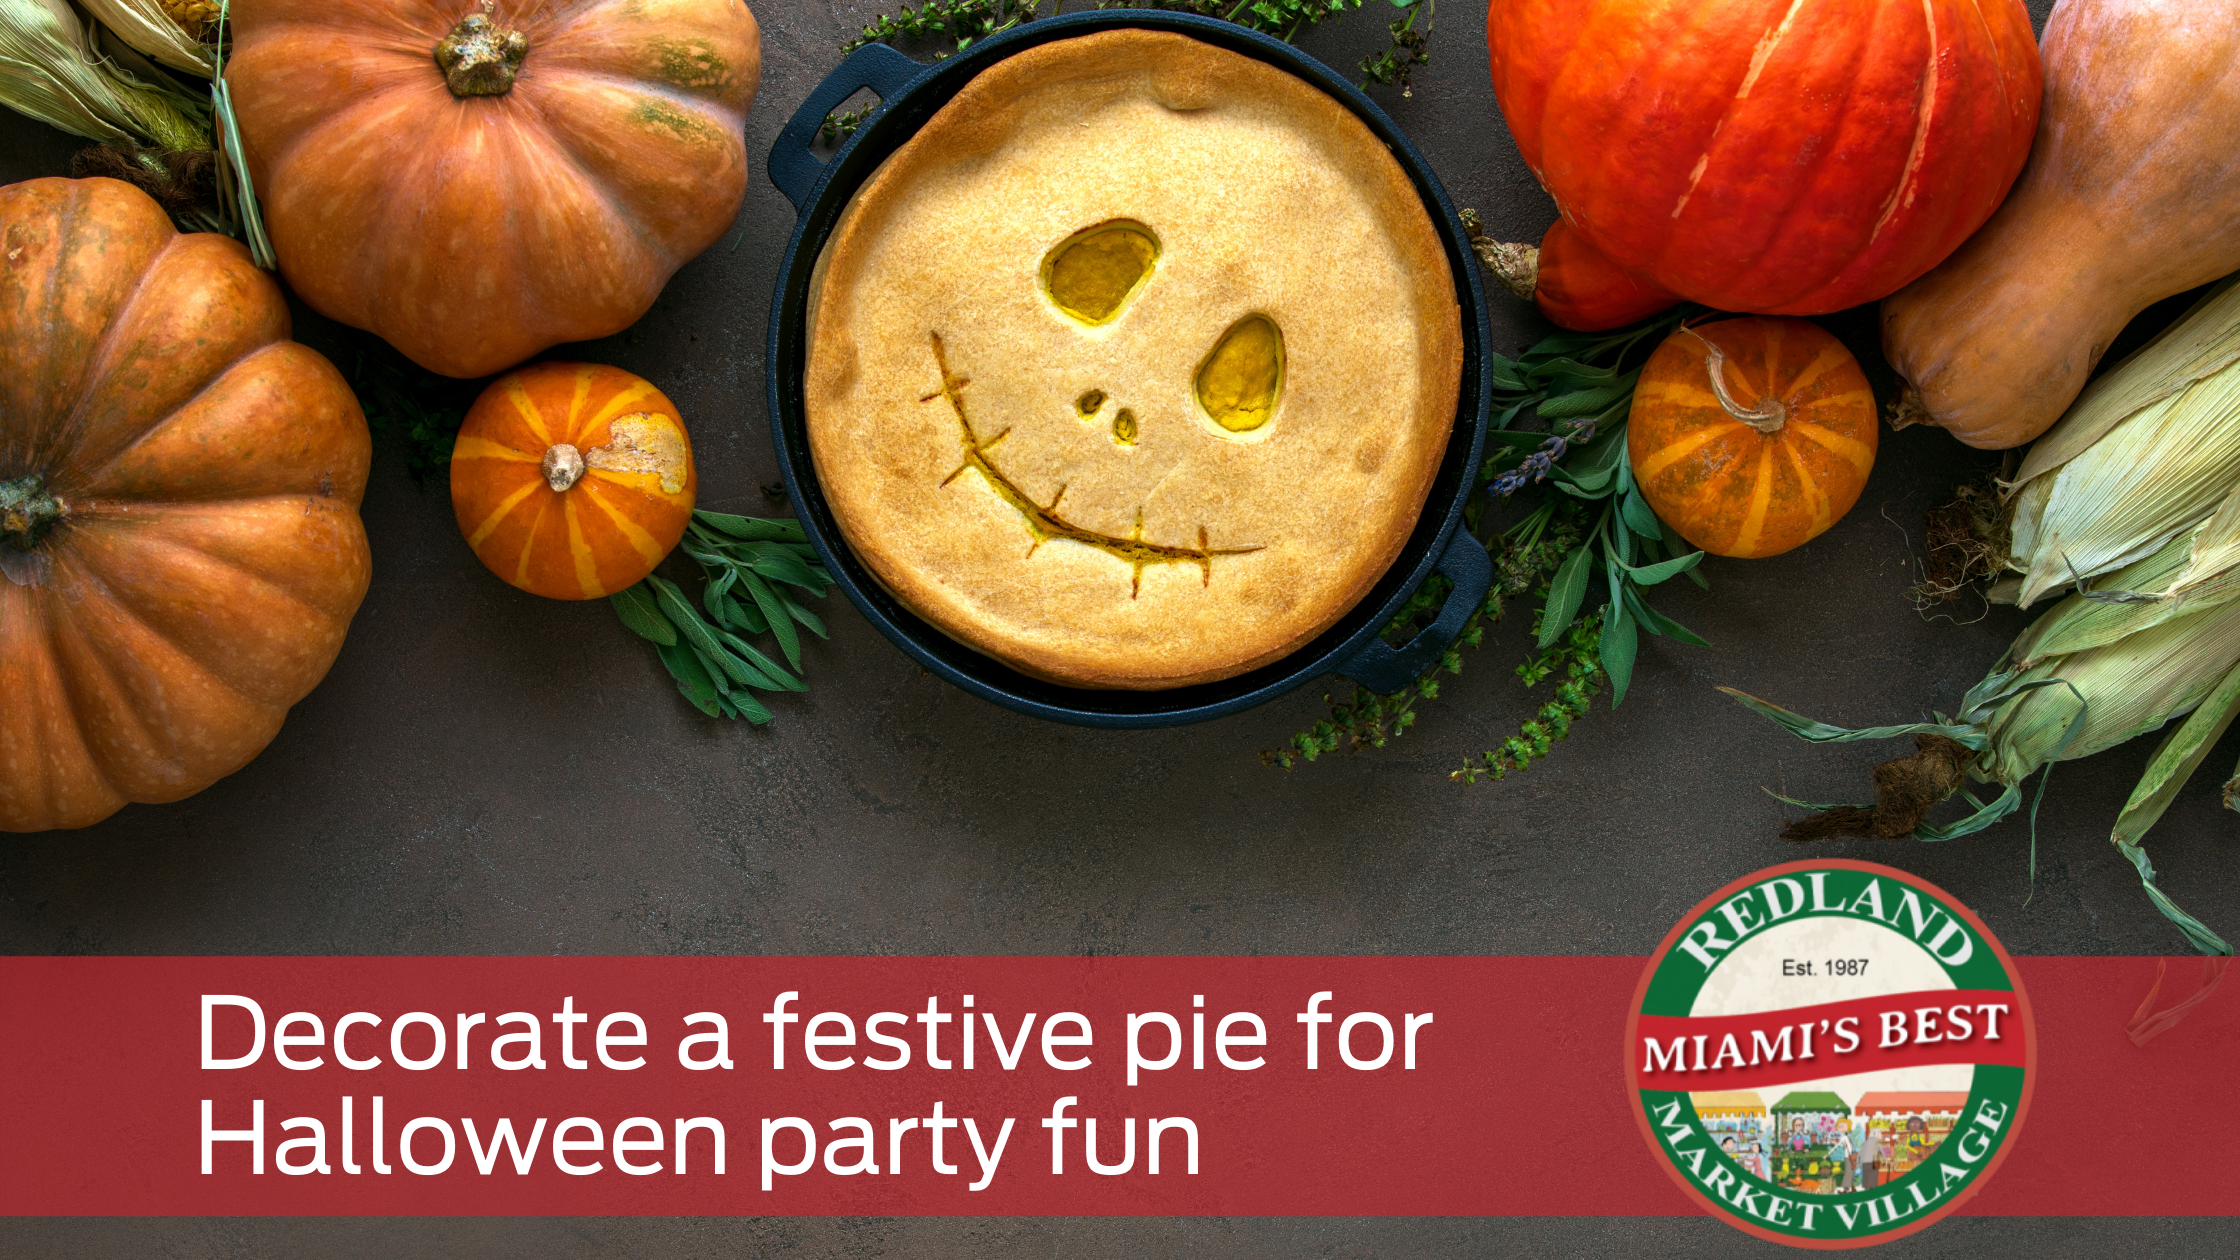
Candy may be a mainstay of Halloween celebrations, but other desserts also can make festivities even more enjoyable – especially when those desserts coordinate with the Halloween theme.
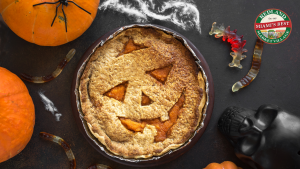
The word “chibi” means “short and chubby” in Japanese, but it also has expanded to refer to characters with especially cute, babylike features. The chibi-style lends itself well to jack-o’-lantern designs, which many people find cute, short, and chubby. Making a jack-o’-lantern themed pie is even easier when pumpkin – which is an especially popular flavor this time of year – is the pie of choice.
Find your favorite pumpkin pie recipe or purchase a store-made one and some refrigerated pie dough to add some Halloween flair with this instructional guide for “Chibi Pumpkin Pie” courtesy of “Pies are Awesome: The Definitive Pie Art Book, Step-By-Step Designs for Every Occasion” (Rock Point) by Jessica Leigh Clark-Boijin.
Chibi Pumpkin Pie
Ingredients:
– Egg wash (or almond milk if making a vegan pie)
– Vanilla extract
– Brown, black, green, and pink gel food color
– Opaque white icing color
– Orange and yellow sanding sugar
Supplies:
– Pie pan of your choice
– Baking sheet
– Parchment paper
– Food-safe precision knife
– Pastry brush
– Food-safe artist brushes
– Ramekins or small containers to mix color and hold egg wash
– Fondant sculpting tool or toothpick
Since this pie is a literal picture of a pumpkin, I think it makes sense for the filling to be pumpkin, but then again, who am I to stifle your creativity? Since this pie has a sanding-sugar top, you can use any flavor of filling you like and the dough of your choice. You also can use a store-bought pie.
1. Roll out the dough of your choice onto parchment paper and cut out all the chibi pumpkin template pieces with a sharp knife. (Note: Make your own template or purchase the book for instructions on how to download and print out the template for this pie).

2. Coat the pieces in the egg wash using a pastry brush. While the dough is still wet, use a fondant sculpting tool to score some lines on the stem and the leaf.
3. Paste the leaf to the stem with your egg wash, then cut out three thin strips of dough to make vines. Coat these in egg wash and coil them around the stem and leaf in whatever way floats your boat. I made a little curlicue with one of mine because it reminded me of baby doll hair!
4. Mix your gel colors with a tiny bit of vanilla extract. Using a food-safe brush, paint your pieces. If the filling of your pie is quite dark, consider painting the face bits yellow, or even just leaving them dough-colored. If the filling background is bright, like this sanding sugar design, then choose a dark color like black. Paint the stem green and the cheeks pink. To make the stem a little more “natural,” I gave it a quick wash with a more diluted green color to let some of the natural dough show through. Bake the pieces at 400 F for about 8 minutes (your oven may need a little more or less time).
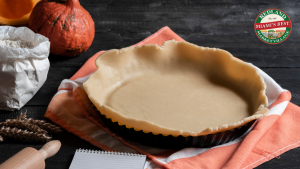
5. Bake your base pie now and flatten down about 2 inches at the top of the trim to accommodate the stem. If you’re using a store-bought pie, break off a little bit of the trim so the stem can lie flat.
6. Once your base pie has cooled and you are ready to serve it, add your sanding sugar. I’ve made a bit of an ombre effect with yellow at the top fading to orange at the bottom, but you do you! A solid color will look cool, too. The final step is adding the face. To get the true chibi effect, place the eyes below the centerline of the face.

